Looking after your chain and drivetrain
23 July 2013
There are more moving parts in the chain than any other part of your bike. Looking after your chain and the drive train will prolong their life, as well as making your cycling easier!
How often should it be cleaned?
This depends on how often you ride, how long you ride for, the weather you ride in and the season
In dry summer weather, you should be able to leave your chain alone for at least a few rides and then only wipe with a rag and lightly re-lube.
In bad winter weather, it is essential to fully clean your chain and drive train every ride, especially if the roads have been recently salted. (In fact, cleaning the whole bike is a good idea.)
Never put your bike away wet. As a minimum, remove water and dirt from the chain and drive train first, even if all you have the energy to do is a thorough wipe down with lube sprayed into a rag.
In between dry summer and bad winter weather, there is a middle ground comprising a full clean and re-lube every few rides and a wipe down with a rag, and maybe a light lube, after other rides.
How to clean your chain and drive train
(This describes a deep clean. You can miss some of stages if the chain is not that dirty, but always with the aim of getting the chain, chainrings and cassette clean of all old lube, dirt and water before applying new lube. When finished, the chain, as well as the cassette and chain rings can be shiny, almost as new.)
Stage 1
Brush clean the derailleur pulleys. It may be a good idea to scrape between the cogs with a screwdriver if dirt has built up between the cage and pulley wheels.


Stage 2
Scrape clean the rear cassette with a brush, or again using a small screwdriver. Also between the chain rings where dirt builds up around the chain ring bolts.

Stage 3
De-grease the chain with a chain cleaning tool if you have one. If not, use a rag and brushes with degreaser / soapy water.

Stage 4
Wash the bike now with soapy water, and rinse. Do this to rinse off the degreaser otherwise it may break down the new lube. Also, the bike will get very dirty when degreasing a dirty chain.
Stage 5
Bounce the bike on the ground to shake off water and then dry the chain with a rag. Use WD40 or GT85 to disperse any remaining water from the links by spraying into a rag and running the chain through. (Doing it this way also protects the rim braking surface from the spray.) Dry the chain again to remove excess WD40.

Stage 6
Clean and dry the chainrings and the cassette with a rag. A spray with WD40 or GT85 can help. Use a brush, pipe cleaners or rag to get between the cogs.

Stage 6
Take care not to over-lube as an excess of oil will only attract dirt, as well as flicking oil over the bike frame and your legs. Aim for a drop on each individual roller and do this in turn until each link has been lubricated. A bottle with a dropper rather than a spray is best. Note that it is only the chain that needs lubing, not the cassette or chain rings. See
below for a summary of different types of lubes.

Stage 7
Wait somewhere between 30 minutes and an hour for the lube to sink into the chain, and then wipe off the excess by running the chain again through a rag while slowly spinning the pedals.
Lubes, cleaning products and other equipment
There are different types of lube and cleaning products:
- Water disperser (such as WD40) – not very useful as a bike lube as they are too thin and get easily washed off the drive train. Use to disperse water from the chain and drive train (protecting braking surfaces with a rag).
- Spray Teflon based lubes (such as GT85) – useful for getting into difficult to access spaces and pivots. Probably too light for regular chain use, but can be used to disperse water.
- Dry lubes – These lubes shed themselves as they attract dirt. Need to be applied more frequently as a consequence. My personal preference all year round.
- Wet lubes – thicker and longer lasting, and will resist being washed off. However, not so good in sandy or dusty conditions, as they are thicker and attract dirt. Not the best in dry conditions.
- Standard or all condition lubes – Not as heavy as a wet lube, nor needing to be applied as often as a dry lube.
- D egreaser – biodegradable solvent to break up old oil and grease allowing it be brushed / washed off the chain and drive train.

Other useful equipment:
- Brushes – special brushes can be used to get between the cogs of the cassette. Washing up brushes and toothbrush will also do the job.
- Pipe cleaners - special pipes cleaners to get between the cogs and around the chainrings.
- Chain cleaner – a plastic box, filled with degreaser, and containing rolling brushes that clean the chain as it is passed through the cleaner.
Other hints and tips:
A “Master-link” in the chain allows the chain to be more easily removed if a particularly deep clean is needed.
A “Master-link” in the chain allows the chain to be more easily removed if a particularly deep clean is needed.
Every so often, removing a cassette from the wheel is a good idea as these can be difficult to fully clean otherwise.
How often should the drive train be replaced?
Replacing worn chains will prolong the life of the cassette and chainrings. Depending on the type of riding you do, this could be as low as every 1500km or so, but perhaps two or three times as long if well maintained. A simple tool can be used to detect chain wear and show when it needs to be changed. Changing the chain before it is worn means a new cassette is needed less frequently (perhaps every third new chain), and new chainrings less so again.
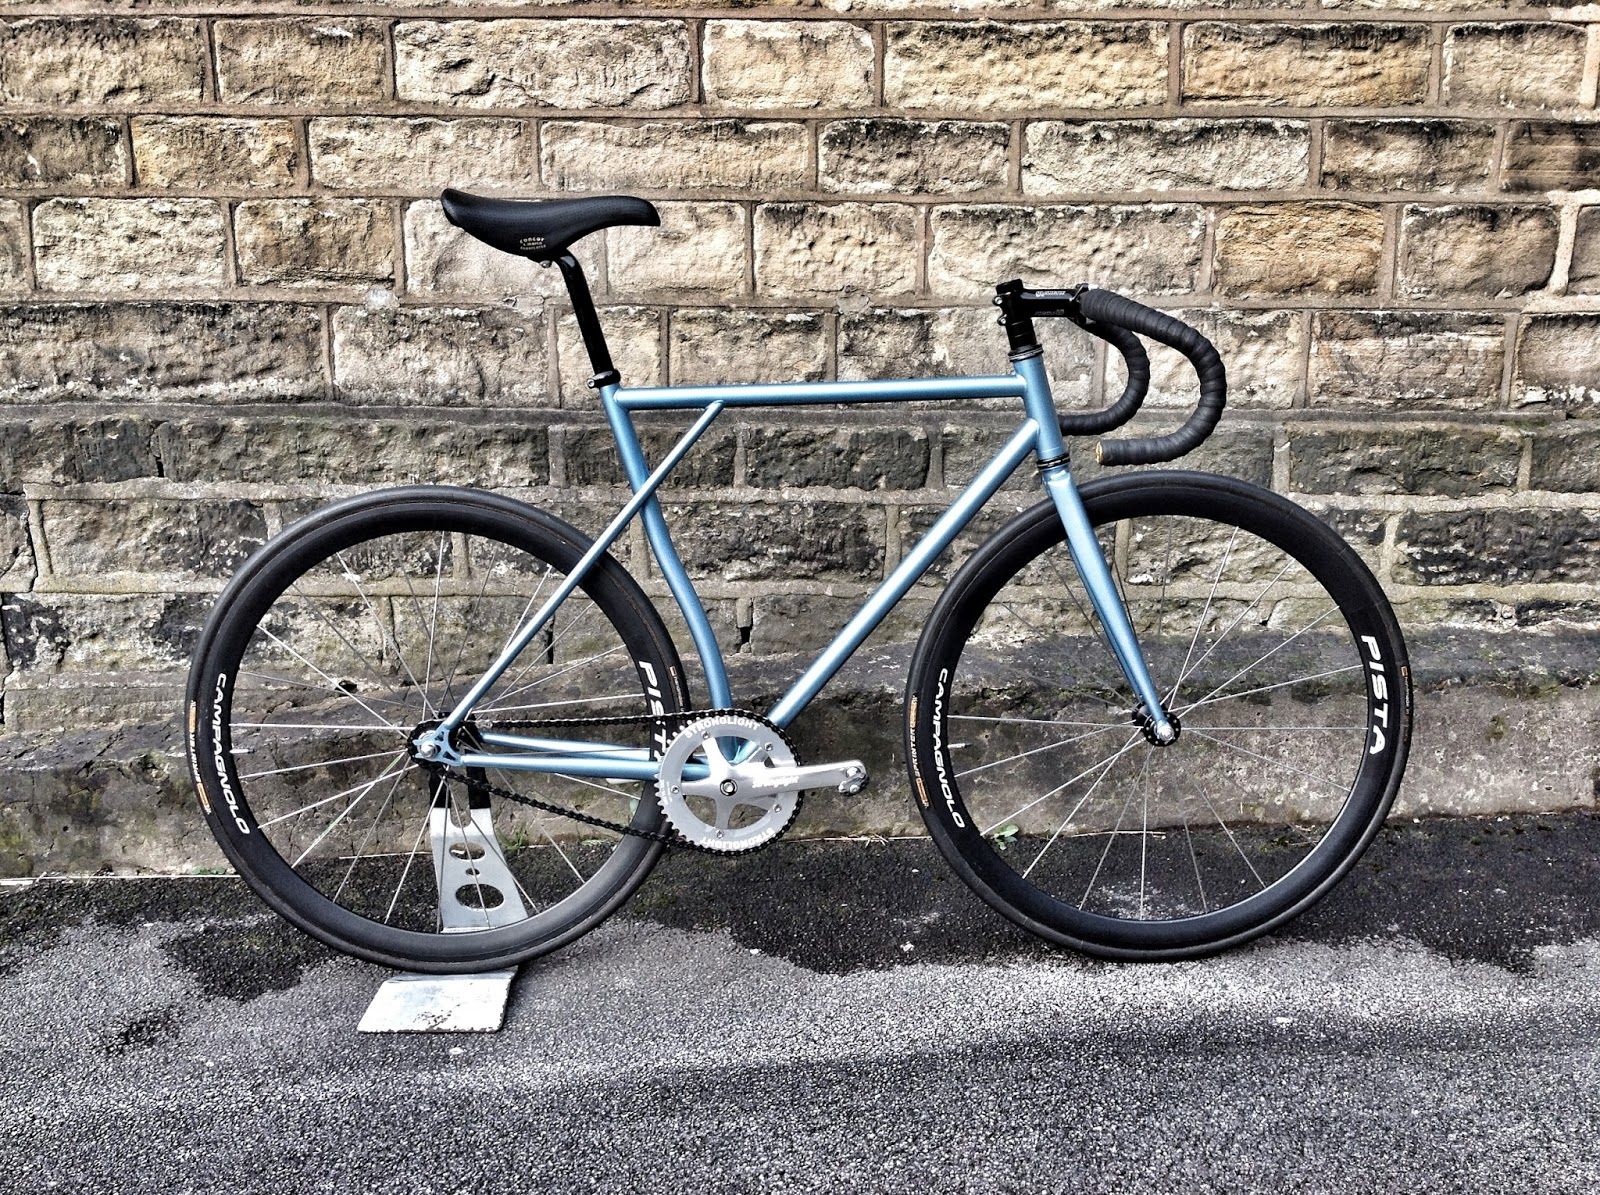
This week's project was building this steel frame track bike for the Manchester velodrome.More to follow in a later post...
With the Tour's visit to Holmfirth on 6th July only a few months away, I decided to ride Holme Moss on the 6th of every month leading up to the day itself. Now, after the cold winters we've been having, I thought it might be interesting to see the changing seasons (remember Holme Moss was blocked by snow for several weeks in late March and April last year) as well as the transformation that will happen with 100,000 people on the Moss on the day. But so far, it has just been grey and very windy...but still beautiful none the less!Read more »
Following on from an earlier post, this article covers the second part of Stage 2 of this year's Tour and it is very exciting as is it is on local roads. Now I have to own up that I did this ride back in October last year. It was actually my birthday ride. And my birthday present? That was vehicle support for the ride with spare bottles, food, mechanical assistance and photographer just like a pro!So this ride picks up the route in the Holmfirth, loops over the hills into Derbyshire for a (very!) short section before heading back into Yorkshire towards Sheffield. It is a tough route, certainly the toughest section of the whole of the Grand Depart, and not just for the amount of climbing. Large sections are technical and steep, involving racing on narrow, twisting and rough roads. It is going to be exciting come 6th July...Read more »
I often get asked about choosing a new bike. Unsurprisingly, there is no set answer to suit everyone and it depends on the particular circumstances of the customer and the intended use. But I thought it might be useful to write about some of the common things that get discussed for future reference.Read more »
The route of this stage leaves York, skirts the bottom edge of the Dales before turning South through the South Pennines and Peak District to Sheffield. Like before, I wanted to look at the key parts of the stage where the action might happen on the day.Read more »
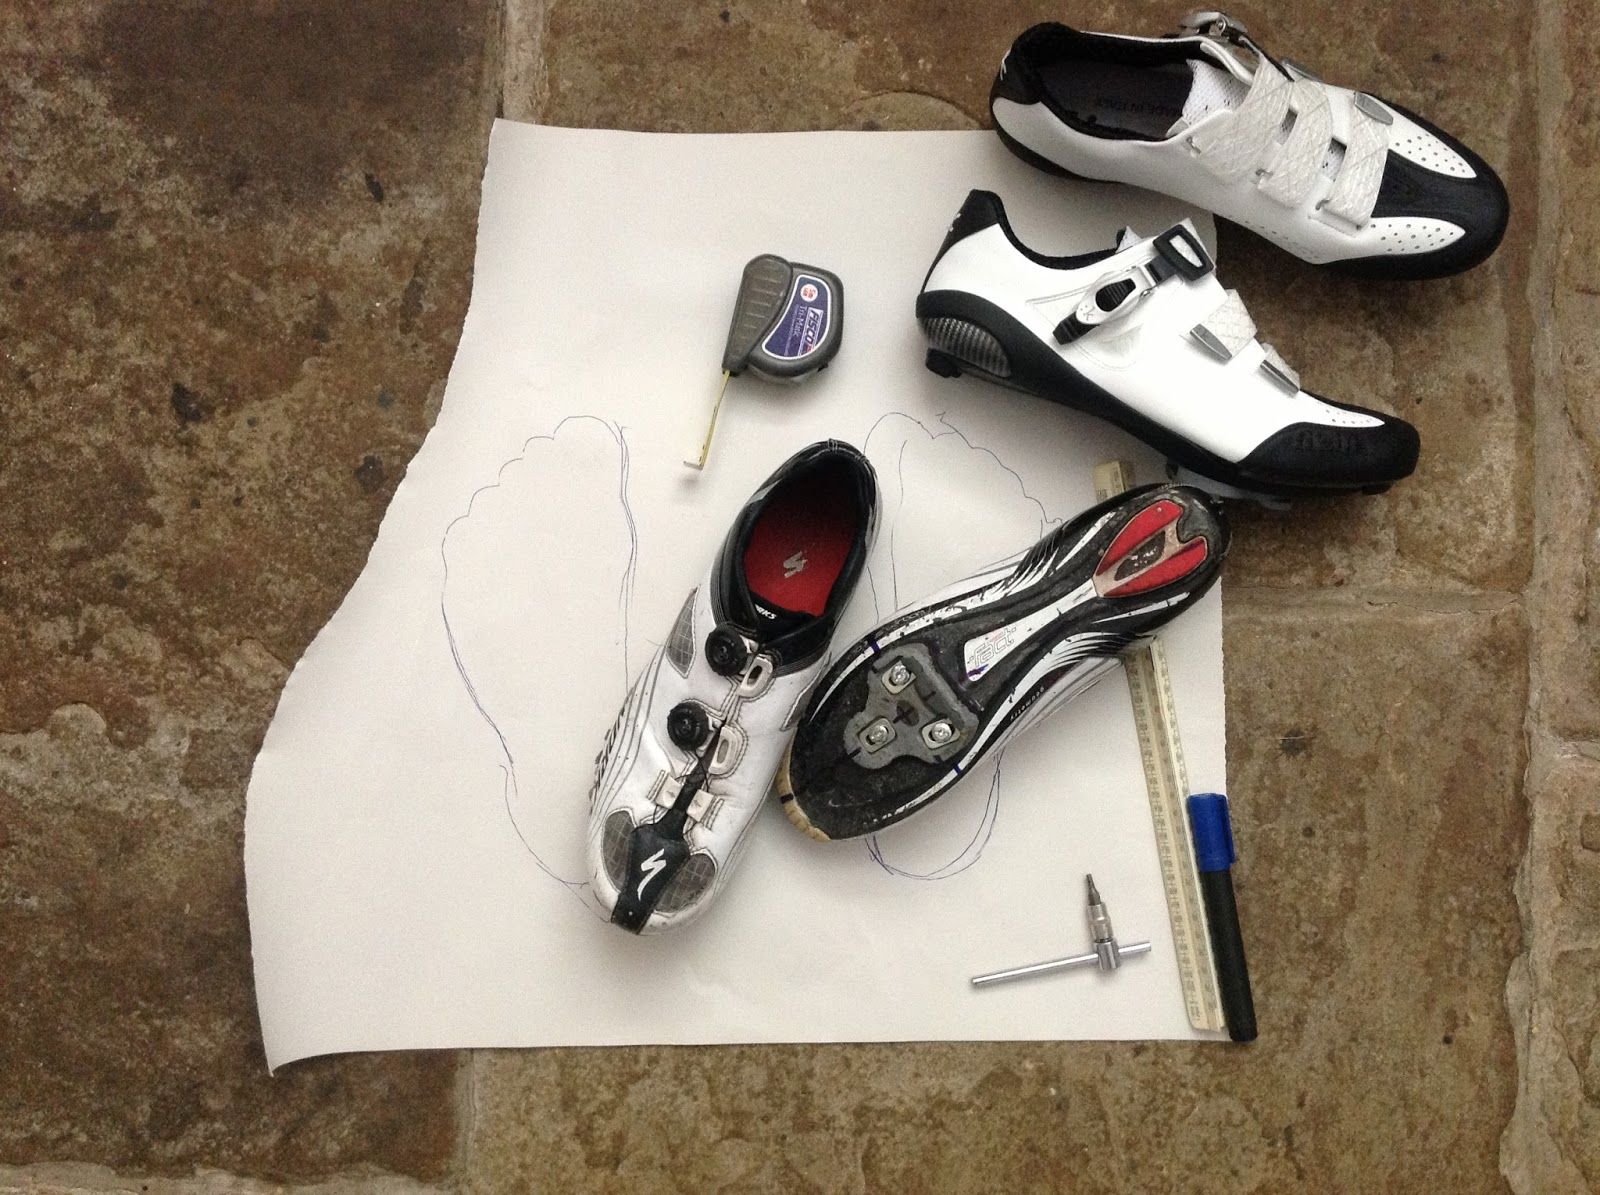
I've had the same brand and model of road shoes for over six years now (not the same pair though!), so it's been a long time since I've had to set the cleat position on a different make. And with some new shoes, I've been struggling to find a comfortable position for the cleats. So after several abortive test rides, it was time to be a little more scientific.Looking at my old shoes, I found the angle between the cleats and the centre line of my feet was quite different on the left and right shoe. I guess it happened over time, and I simply copied the position from one set of shoes to the next. I've never ridden fixed cleats though, so my feet have probably being able to find their natural position.On the new shoes, I've aligned the cleat angle on both shoes parallel to the centre-line of my feet. I wondered where the centre actually was though, so I stood on a piece of paper in a 'natural' position with feet under hips and traced the outline of my feet. I've then imagined two parallel lines over the tracings, roughly perpendicular to my hips, and set the line of the new cleats to match. The line is similar to the old right cleat.Forward and back adjustment is set to match my old cleats, which for me is the first joint of of the big toe about 10mm forward of the pedal axle. (This seems to work for me, though there are lots of different opinions.) I did this taking lots of measurements between the cleat and the the toe and heel on the new and old shoes, and also by marking the position of the big toe joint on the shoe. As many measurements as possible seems best. Side-to-side adjustment is also to match the old shoes as closely as possible.So, we'll see how the new shoes feel with this position. First impression is much better, but a long ride is needed to really tell. I might take the old ones with me just in case!

Fixed Gears: Raleigh Dakota: This bicycle belongs to one of my wife's best friends. It used to be her brother's bicycle - I guess early to mid 1990s with Biopa...
This bicycle belongs to one of my wife's best friends.It used to be her brother's bicycle - I guess early to mid 1990s with Biopace type chainrings, thumb shifters and splatter paint. It is in pretty good condition too for its age - the paint is very good. It just needs some care now - new cables plus adjustments to the gears, brakes and bearings. And fit some easier tyres as it is mostly used on the road now.And the finished article. I've left the cables until later as a barrel adjuster is missing from one of the thumb shifters and I'll need to source a replacement. Until then only six of the seven sprockets work. I'd forgotten how fiddly cantilever brake adjustment can be, and noisy too without any toeing of the pads! Fixed now, just a bike fit to do.

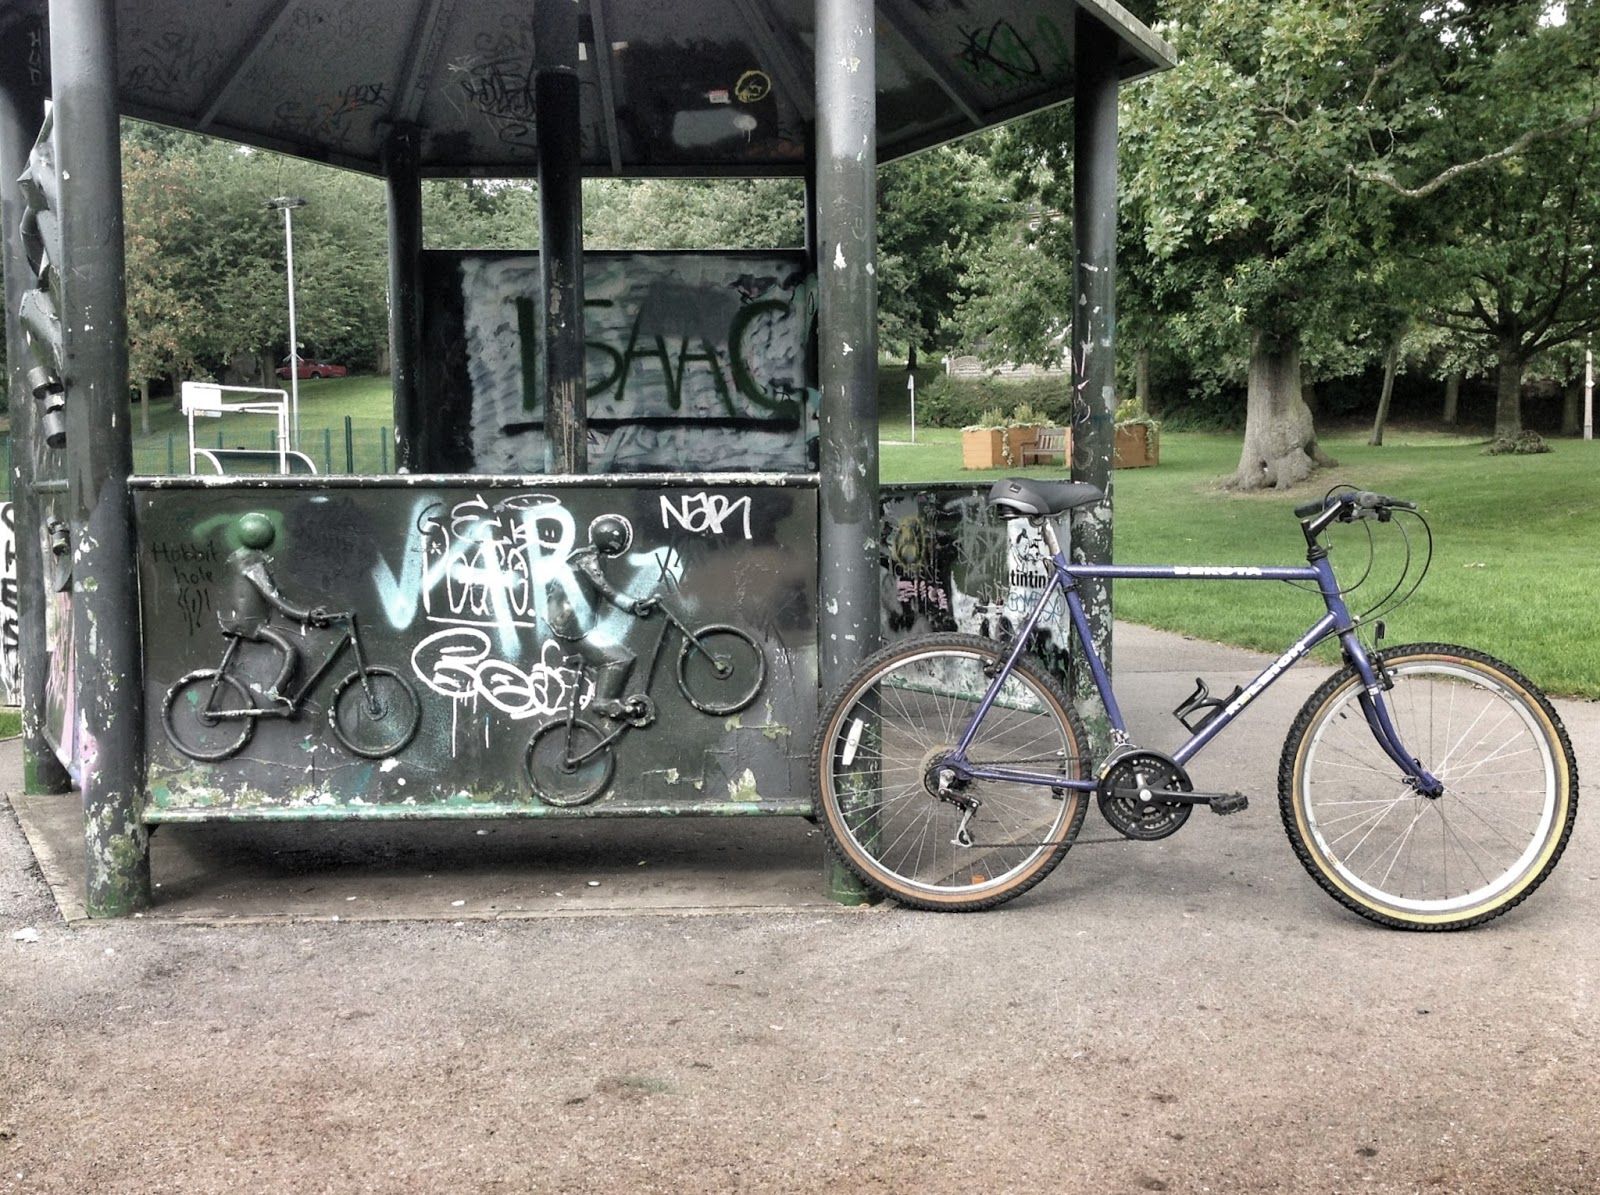
I've finished refurbishing my basement workshop. I've added tool boards and lots of hooks for hanging wheels, frames and other stuff. Everyone should have one! (Stone table optional.).